Modding
Downwell is a GameMaker game, and nearly everything about it — sprites, code, sounds — lives in a single data.win file that can be edited with UndertaleModTool. This page is adapted from VirtuaVirtue's Downwell Modding Documentation, with additions from this wiki's own decompilation notes.
Tools required
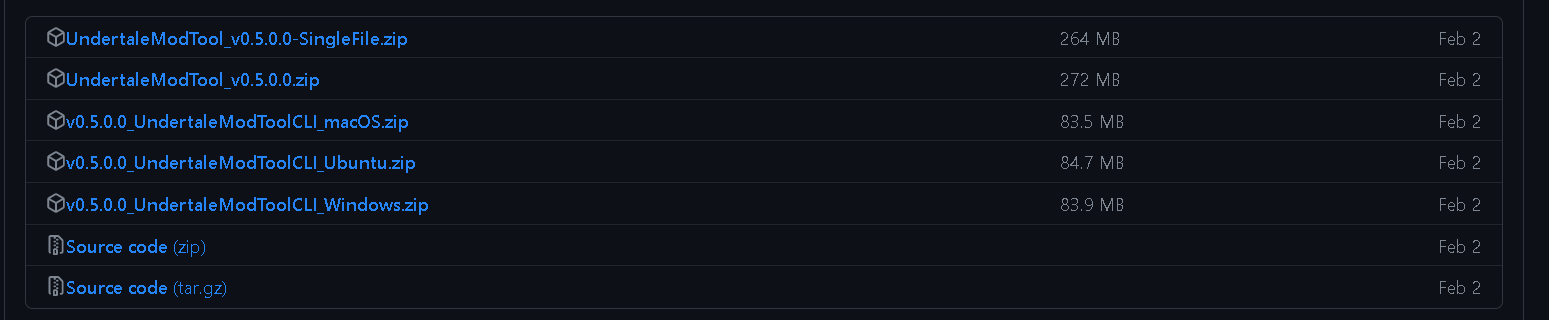
- UndertaleModTool — the only tool you strictly need. Download a Stable release ("Bleeding Edge" is newer but less stable).
- Any pixel-precise image editor — Paint.NET, Aseprite, even MS Paint.
The game data lives at:
C:\Program Files (x86)\Steam\steamapps\common\Downwell\data.win
Make a backup of data.win before editing — you are modifying the game itself.
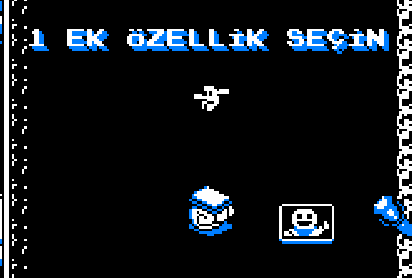
Tutorial: new upgrades
Upgrades are the items offered at the end of every level. They are the best starting point for modding: little to no coding knowledge required.
Sprites
Each upgrade is one sprite with two frames:
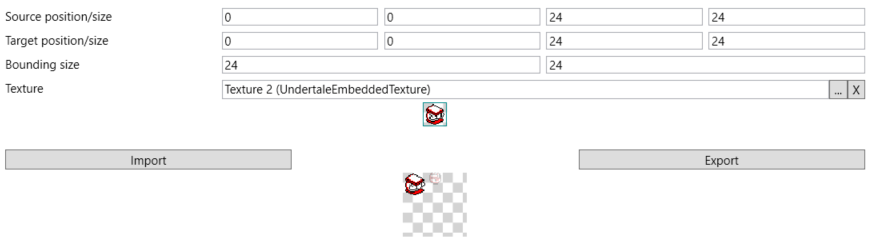
- Frame 0 — the selection icon shown on the end-of-level choice screen. 24×24 pixels.
- Frame 1 — the inventory icon shown in the corner once taken. 12×12 pixels.
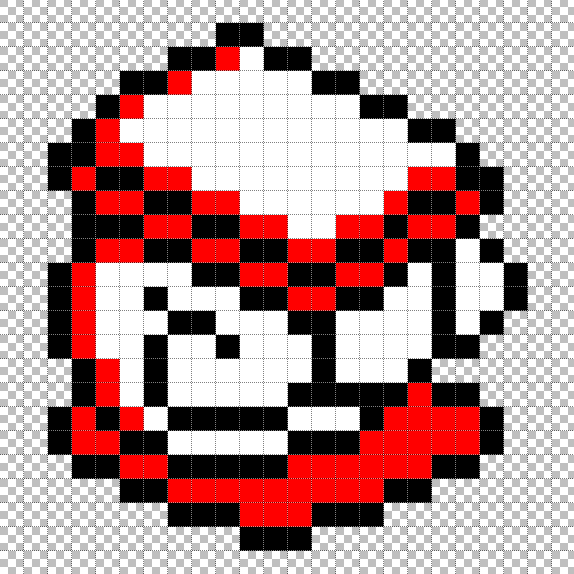
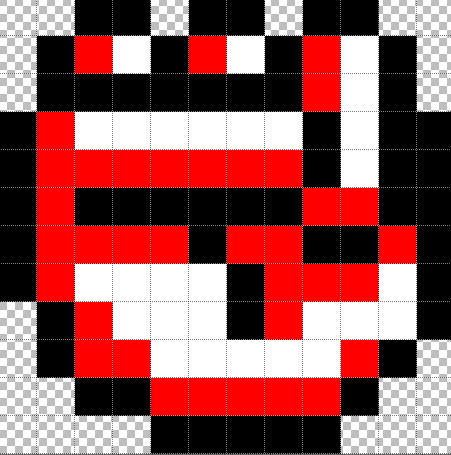
Upgrade sprites use at most three colors: red #FF0000, white #FFFFFF and black #000000. The game's palette shaders automatically remap them to the player's chosen palette.
Naming scheme
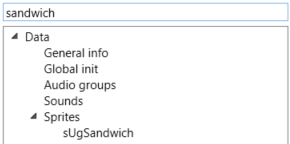
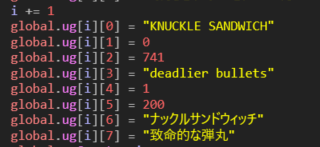
Name the files as frames of one sprite, e.g. for a "Knuckle Sandwich" upgrade:
sUgSandwich_0.png   (large icon)
sUgSandwich_1.png   (small icon)
UndertaleModTool imports numbered files as frames of the same sprite. Put them alone in a folder.
Importing
- Open
data.winin UndertaleModTool.
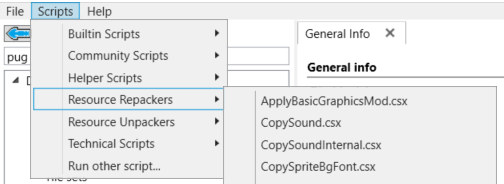
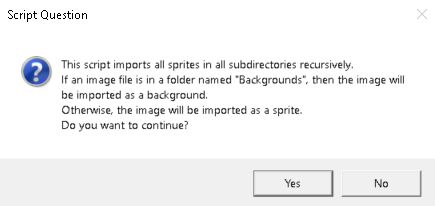
- Run Scripts → Resource Repackers → ImportGraphics.csx and select your folder.
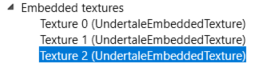
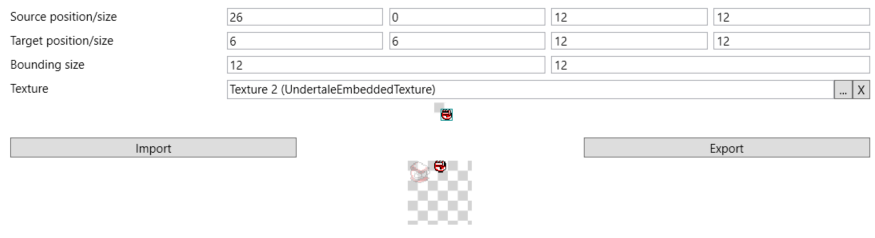
- Check that a new
UndertaleEmbeddedTextureexists (a texture-loading warning at this stage can be ignored, or save and reload).
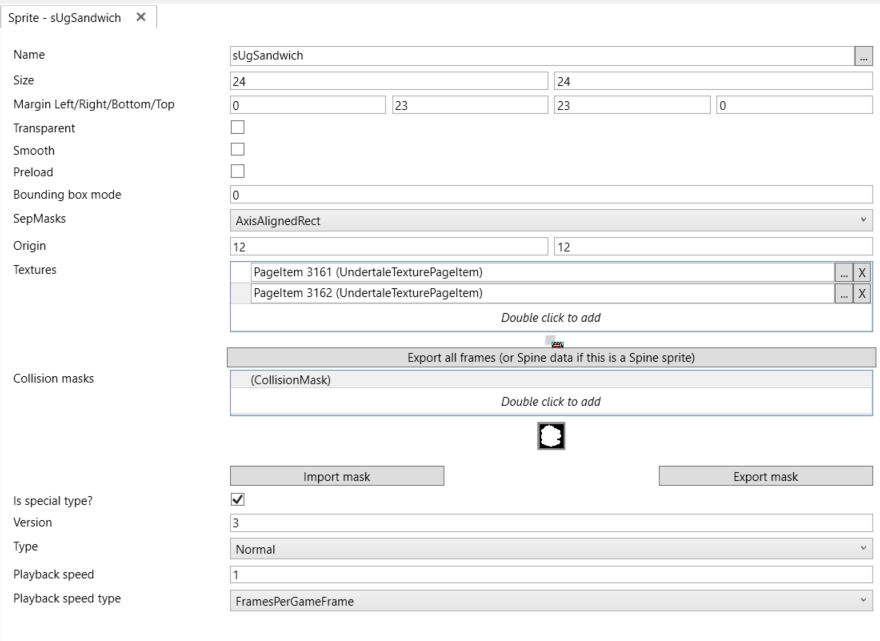
- Find your sprite in the Sprites section and check its properties — most importantly the origin must be 12×12 so the icons align in the menu and inventory.

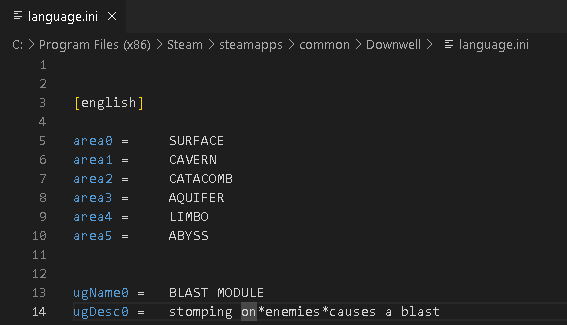
language.ini
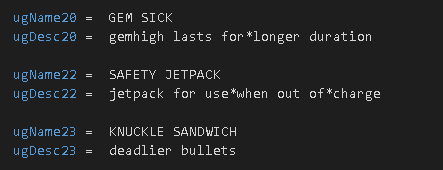
All of the game's text lives in language.ini next to data.win. Add your upgrade's name to the ugName section — the last vanilla entry is ugName22. Entries for the other languages are optional, but without them those languages show a blank name and description.
The upgrade table
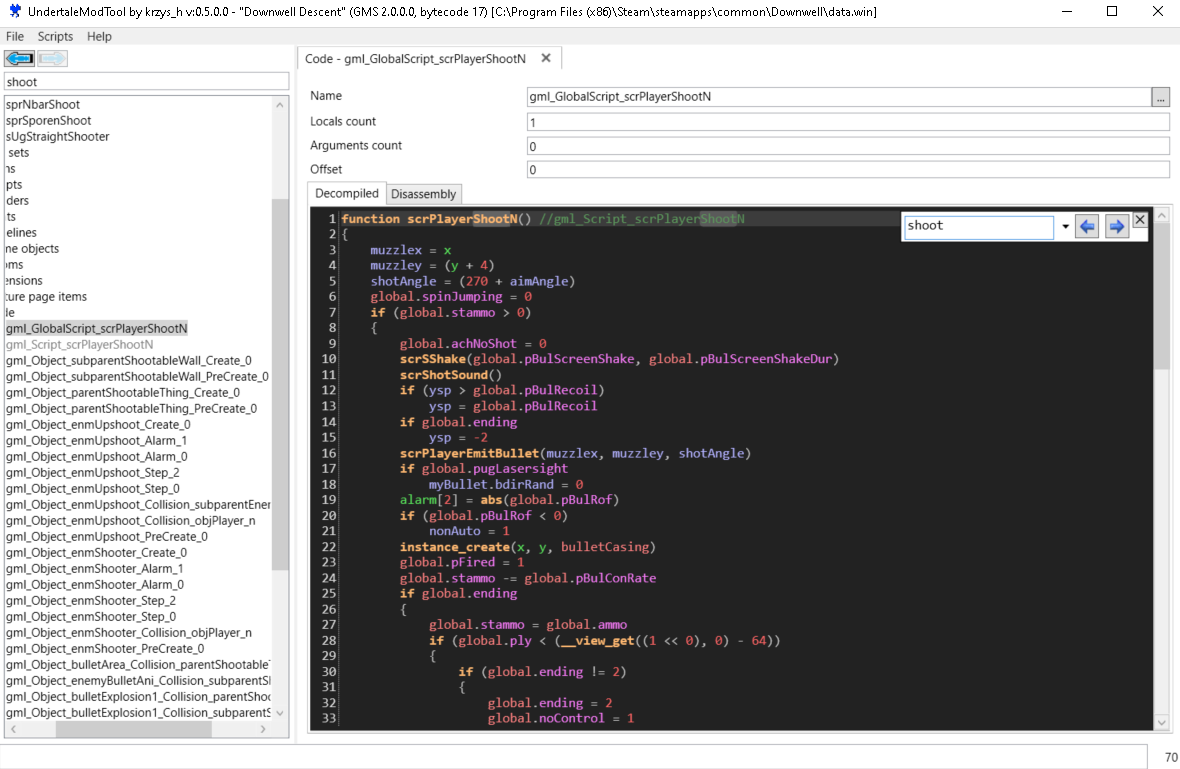
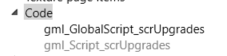
Search for upgrades in UndertaleModTool and open gml_Script_scrUpgrades under Code.
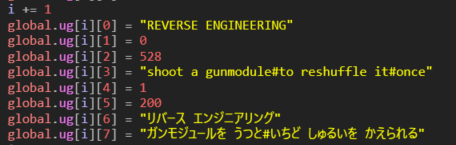
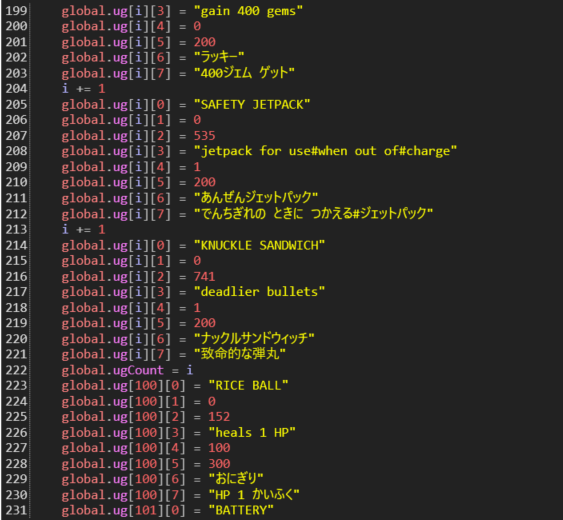
This script is the upgrade database: every upgrade in the game is a block of global.ug assignments, with i += 1 between blocks (the index — without the increment you overwrite the previous entry).
| Field | Meaning |
|---|---|
ug[i][0] |
Name (shown on the choice screen) |
ug[i][1] |
Copies currently owned — the game resets it; leave at 0 |
ug[i][2] |
Sprite index. The first sprite a mod imports lands at index 741; add 1 per additional sprite |
ug[i][3] |
Description; # is a line break
|
ug[i][4] |
Maximum copies obtainable. The pickers only offer an upgrade while ug[i][1] < ug[i][4] — vanilla entries with 0 here (Dumbbell, Super Charge, Sudden Fortune) are cut content that can never appear. Leave at 1
|
ug[i][5] |
Price in gems — only read for the shop consumables (indexes 100–105); dead data for regular upgrades. Leave at 200 |
ug[i][6] |
Japanese name |
ug[i][7] |
Japanese description |
Copy an existing block to the end of the list, keep the i += 1 above it, and fill in your values.
Functionality
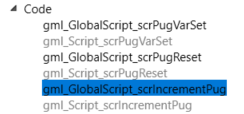
Search for pug (Player UpGrade) and open gml_Script_scrIncrementPug.

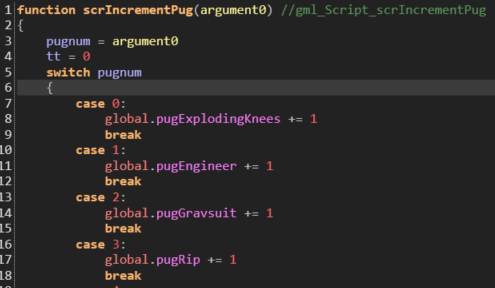
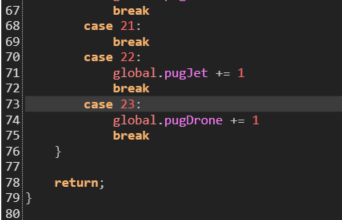
It is one large switch over the upgrade index, run when an upgrade is taken. Add a case for your index at the bottom (the 24th item is case 23 — indexes start at 0) and put your effect there.
Tutorial: new styles
Styles are the characters chosen at the start of a run.
Sprites
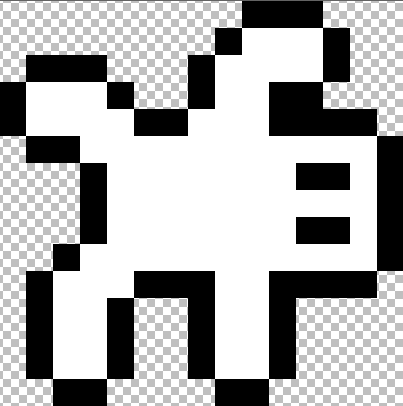
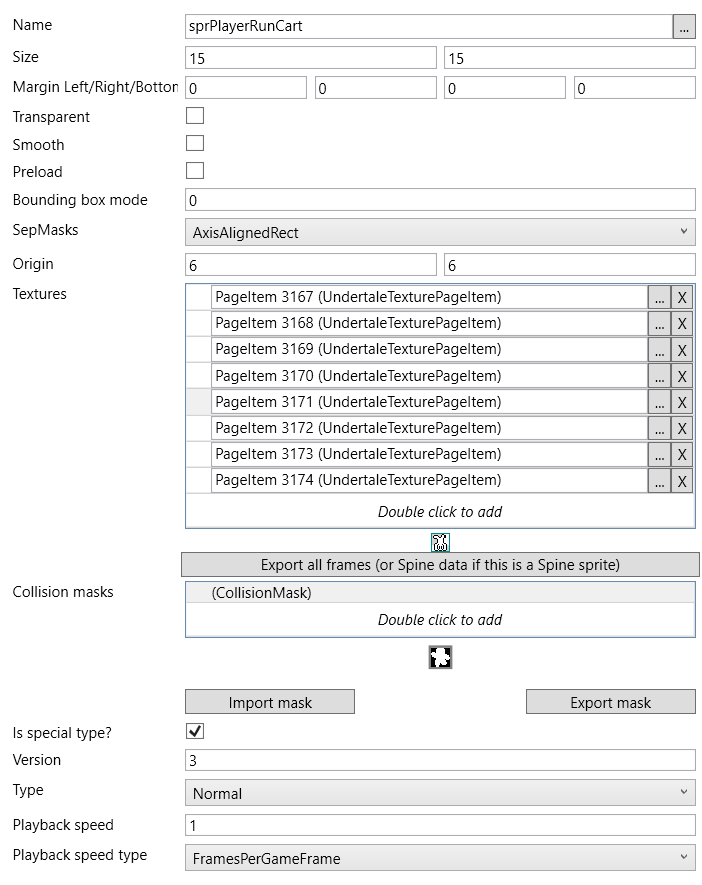
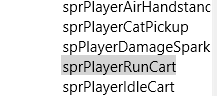
A style needs a run cycle of 8 frames and an idle animation of 4 frames, at 15×15 pixels, using the same three-color rule as upgrades. Name them so they don't collide with existing sprites, e.g.:
sprPlayerIdleCart_0.png … sprPlayerIdleCart_3.png
sprPlayerRunCart_0.png … sprPlayerRunCart_7.png

Import exactly as in the upgrade tutorial, then check the sprite properties — here the origin must be 6×6.
language.ini
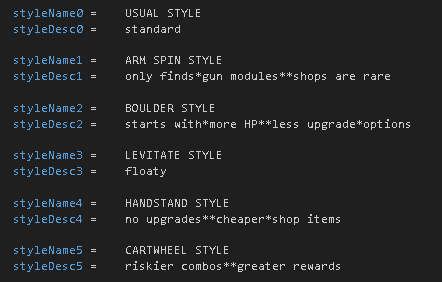
Add the style's name to the styleName section — the last vanilla entry is styleName4.


Wiring it up
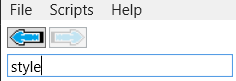
Four scripts, all found by searching style:
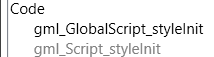
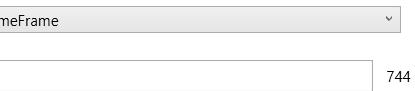
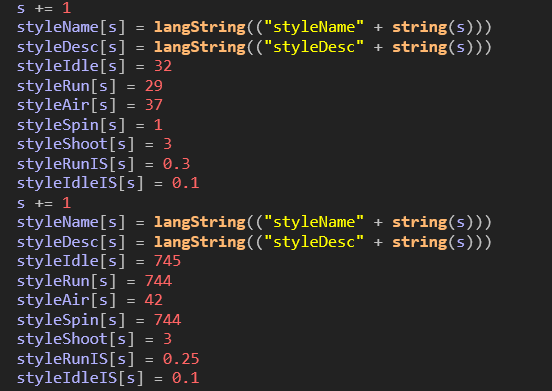
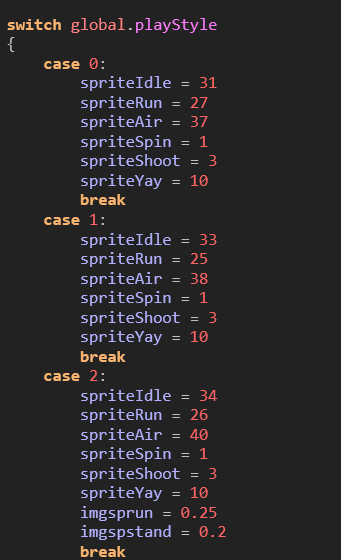
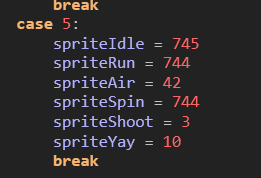
gml_GlobalScript_styleInit— declares each style's name and animation sprite indexes (index variables, incremented per style like the upgrade table). Point the animation fields at your imported sprite indexes (double-click a sprite; its index is shown at the bottom right).

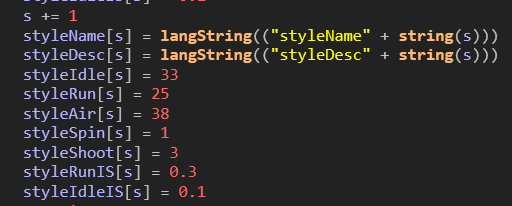
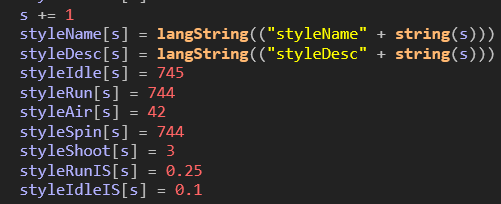
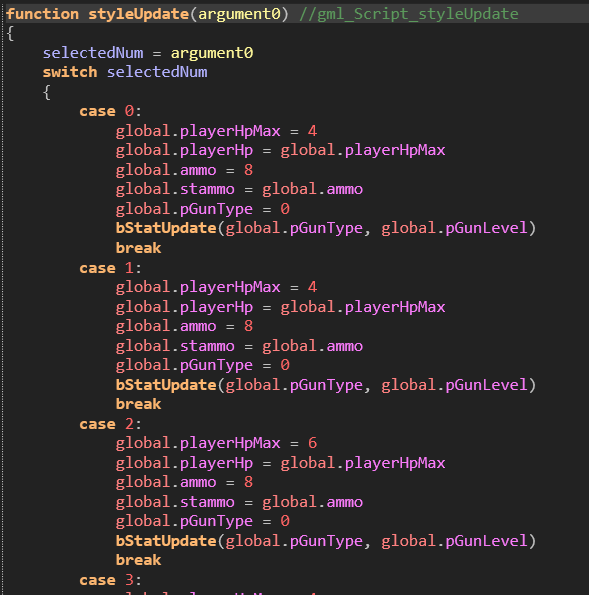
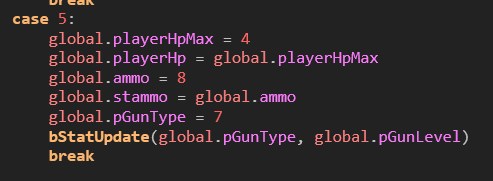
gml_GlobalScript_styleUpdate— runs when a style is selected and sets the player's stats. Copy an existingcaseto the end and adjust. VanillagunTypevalues are 0–6 (see the weapon table).
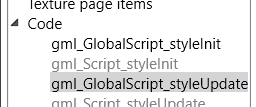
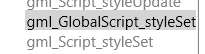
gml_GlobalScript_styleSet— declares the animations again; possibly never called, but add your style for good practice.

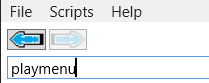
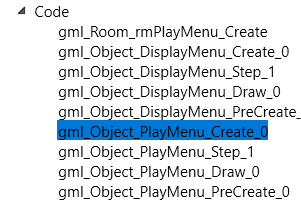
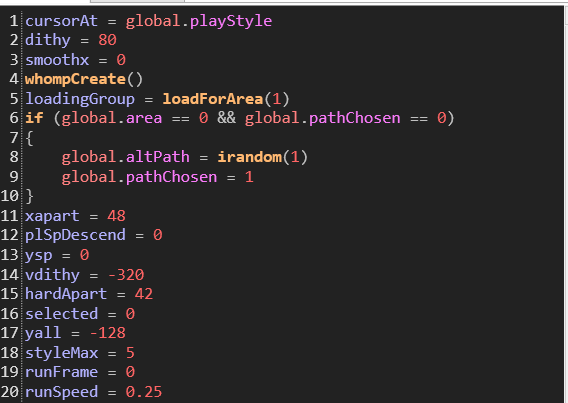
gml_Object_PlayMenu_Create_0(search playmenu) — incrementstyleMaxby 1 so the menu shows your style.

Unlocking
A new style starts locked with no unlock condition. Either:
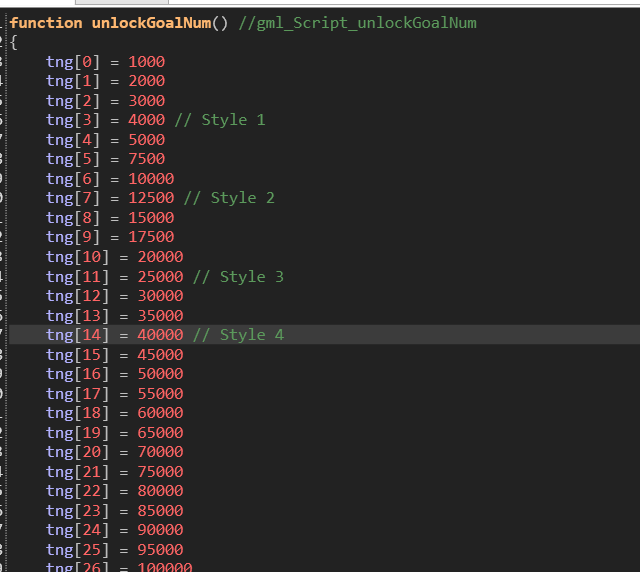
- add it to the unlock tables — an entry in
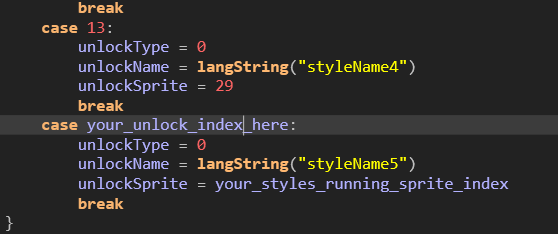
gml_GlobalScript_unlockGoalNum(shifting the later indexes) and acaseingml_GlobalScript_unlockNotice— or
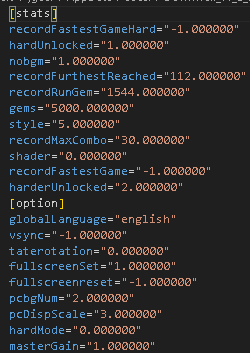
- cheat it open: in
save.ini(atC:\Users\<you>\AppData\Local\Downwell_v1_0_5) set thegemsfield, your progress toward all unlockables, to something absurd.

Reference: weapon stats
New weapons are added in gml_GlobalScript_bStatInitLevel1 by copying an existing weapon's block. Increment gunnum (gunnum += 1) above every new weapon.
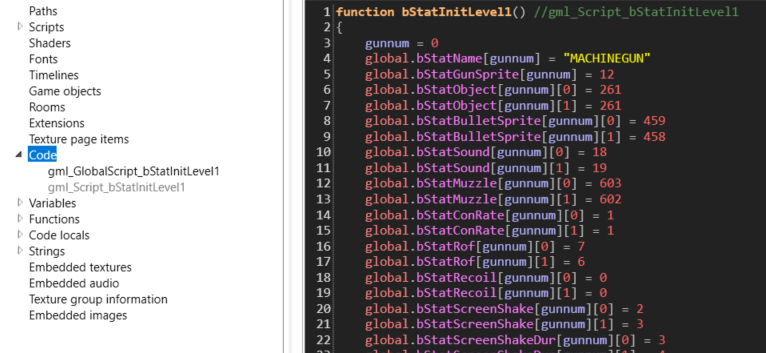
Most stats are arrays of two values: [gunnum][0] applies without gem high, [gunnum][1] with gem high (typically slightly stronger).
| Stat | Meaning |
|---|---|
bStatName |
Pickup name, quoted, usually capitalised — e.g. "NOPPY"
|
bStatGunSprite |
Letter shown on the collectible: position in the alphabet minus one (11 = "L") |
bStatObject |
Bullet object index — 261 for MACHINEGUN/SHOTGUN/TRIPLE/PUNCHER/BURST/NOPPY, 260 for LASER |
bStatBulletSprite |
Bullet sprite index (LASER: 466 normal, 465 gem high) |
bStatSound |
Firing sound index (LASER: 20 normal, 21 gem high) |
bStatMuzzle |
Muzzle-flash sprite index (SHOTGUN: 603 normal, 602 gem high) |
bStatConRate |
Charge consumed per shot |
bStatRof |
Rate of fire — lower is faster; negatives appear to disable it |
bStatRecoil |
Vertical speed lost when firing |
bStatScreenShake / bStatScreenShakeDur |
Screen-shake strength / duration |
bStatDelayKill |
Unclear; rapid-fire weapons set 1 |
bStatBurst |
Burst-fire flag; only SHOTGUN and BURST set 1 |
bStatBurstRate |
Delay between burst bullets — lower is faster |
bStatBurstAmount |
Bullets per trigger pull |
bStatDamage |
Damage per bullet (MACHINEGUN: 9 normal, 15 gem high) |
bStatSpeed |
Bullet speed |
bStatAccuracy |
Random spread |
bStatPierce |
1 = bullets pass through enemies/objects while damaging them (LASER) |
bStatWave |
Unused |
bStatExplode |
Unused by vanilla — set 1 and every bullet explodes; balance accordingly |
bStatRangeRandom / bStatRangeTimer |
Bullet lifetime and its randomisation (how SHOTGUN pellets vanish unevenly) |
bStatSpType |
Appears to control TRIPLE's three-bullet spawn |
bStatSpTy1–3 |
Undetermined; copy from the closest vanilla weapon |
bStatAimAngleAccl / Dccl / Limit |
Aim rotation speed/deceleration/max angle — only NOPPY aims (limit 25) |